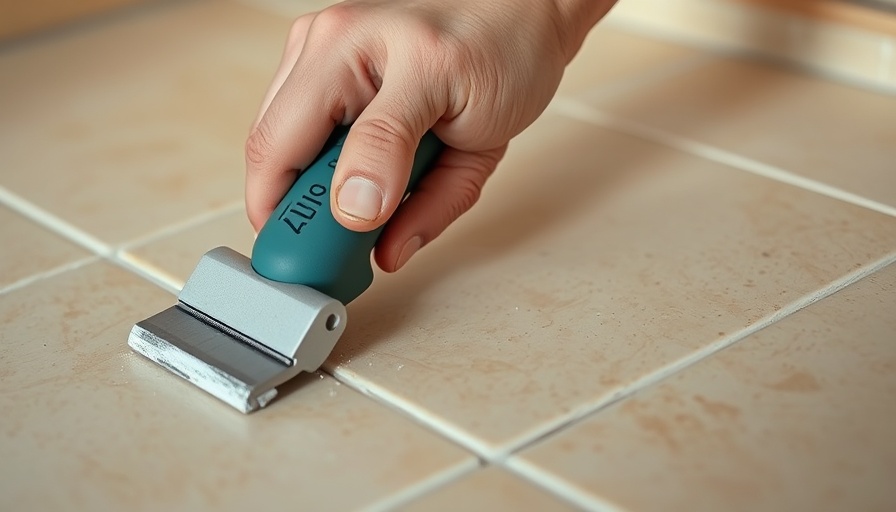
Why Regrouting Can Transform Your Tile Floors
Are your tile floors starting to look worn out and dated? You’re not alone! Many homeowners face the dilemma of maintaining their tile surfaces, especially when the grout starts to discolor or crack. Instead of opting for an expensive tile replacement, regrouting can breathe new life into your floors and refresh the space without breaking the bank. This DIY project not only enhances the visual appeal of your home but also aids in preserving the integrity of your tiles by preventing moisture from seeping beneath them.
Gathering Your Tools and Materials
Before diving into the regrouting process, it’s essential to have the right tools on hand. Here’s a checklist of what you’ll need:
- Grout mix
- Tile sealant
- Oscillating tool
- Cloth
- Tape
- Bucket
- Trowel
- Knife
- Cleaner
- Toothbrush
- Sponge
- Grout float
- Tile finishing tool
Having these materials ready will streamline your regrouting process and allow you to work efficiently.
8 Easy Steps to Regrout Your Tiles
Now that your materials are prepared, let’s walk through the straightforward steps to regrouting your tile floor:
1. Clean the Grout
Start by cleaning the existing grout lines to remove any dirt and fungus. A bleach solution or hydrogen peroxide works wonders. Apply the solution, scrub with a toothbrush, and rinse thoroughly.
2. Remove Old Grout
Equipped with your oscillating tool, carefully remove the old grout. Remember to be patient; this step takes time but is crucial for a successful regrout.
3. Vacuum the Area
Once the old grout is cleared, vacuum the surface meticulously to collect residual debris. Ensuring a clean surface is key to achieving a smooth application of the new grout.
4. Apply Grout Sealant
Using a grout sealant before applying new grout is vital. This step prevents any future mildew from developing in the moisture-prone areas.
5. Mix and Apply New Grout
Following the manufacturer’s instructions, mix the new grout. Then, using your grout float, apply it to the grout lines, ensuring even coverage.
6. Smooth and Shape
After applying the grout, use a finishing tool to shape and smooth the lines. The aim is to keep every line consistent and aesthetically pleasing.
7. Clean Excess Grout
Once applied, use a damp sponge to wipe away any excess grout from the tiles. This is a critical step to ensure that your tiles maintain their original shine and do not become stained.
8. Allow to Set and Seal
Finally, let the grout set for at least 24 hours. After it's fully set, a final application of sealant will provide that extra layer of protection and enhance the durability of your grout work.
Benefits of Regrouting
Regrouting serves multiple purposes. Not only does it rejuvenate the look of your tiles, but it also protects your investment. Maintaining grout reduces the risk of water damage, prevents mold, and improves indoor air quality. For homeowners on a budget, the savings of regrouting are significant compared to the cost of replacing entire tiles or the flooring.
Deciding to Regrout? Here are Some Tips!
Before starting, assess your comfort level and skills. If you’re unsure, consider seeking help from a knowledgeable friend or family member, or check out tutorial videos online for guidance.
DIY projects can be incredibly rewarding, allowing you to personalize your home while saving money. So grab your tools, roll up your sleeves, and get ready to transform your tile floors with regrouting!
If you're feeling inspired, why not take the plunge and start your regrouting journey today? Create a clean, welcoming environment in your home!
 Add Row
  Add
Add 


Write A Comment