 Add Row
  Add
Add 

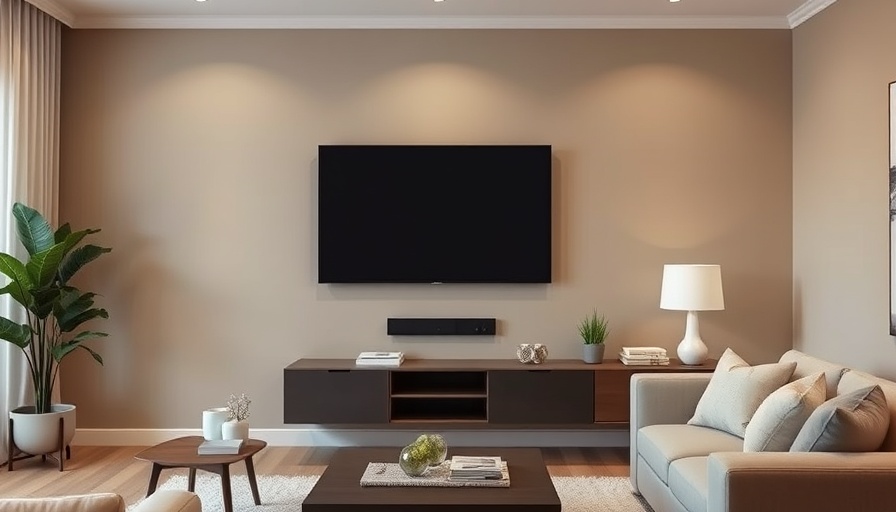
Mastering Your Home: A Seamless TV Mounting Experience
Mounting a flat-screen TV not only enhances your viewing experience but also elevates the aesthetic of your living space. If you're a homeowner transitioning into DIY projects, learning how to wall mount a TV with no visible power cords is essential. In this article, we'll explore the step-by-step process while ensuring that your setup maintains a clean and professional look.
In How to Wall Mount a TV with No Visible Power Cords (Step-by-Step DIY), the discussion dives into ways to power your TV without visible cords, exploring key insights that sparked deeper analysis on our end.
Understanding the Basics: Why Go Cord-Free?
Invisible cords are the new standard in home design, creating a cleaner, more sophisticated appearance. A wall-mounted TV allows for a sleek design, prevents tripping hazards, and opens up your room. Furthermore, when mounted properly, your TV can become a central piece of décor that transforms your ordinary wall into an attractive focal point.
The Power of Preparation: Tools You'll Need
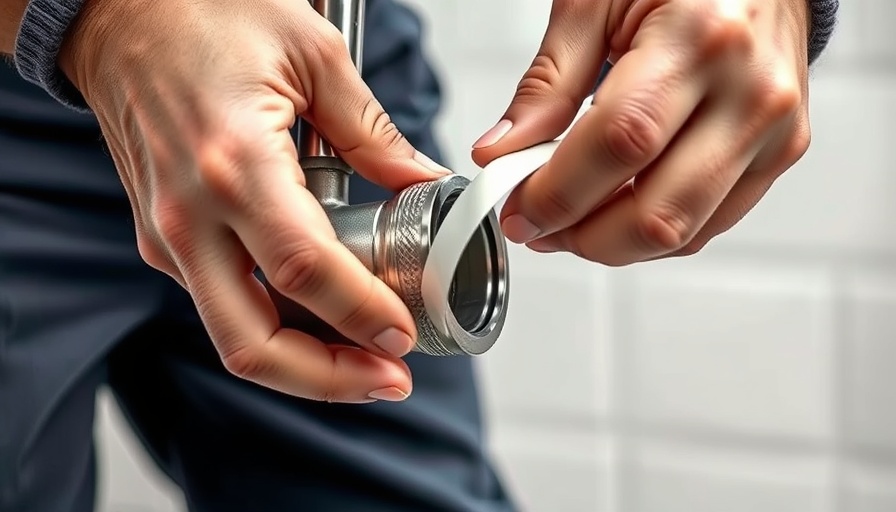
Before starting your project, gather the essential tools: a ratchet set, stud finder, rotary hammer drill, angle grinder, GFCI weather-rated outlet, and appropriate wiring, such as ROMX cable. Each tool serves a specific purpose in making your TV mounting experience safe and efficient.
Step-by-Step TV Mounting and Wiring
1. **Choose Your Location:** Start by selecting the ideal spot on the wall for your TV. Consider viewing angles, proximity to power outlets, and furnishings that may obstruct the view. Mark the location where the TV will be mounted. 2. **Locate the Studs:** Use a stud finder to pinpoint where the wooden studs are behind the wall. This is crucial for securing the TV mount, as nails or screws need to be anchored into a stud for maximum stability. 3. **Install the Mount:** With the level in hand, drill holes into the wall based on your previous markings. Secure the mount using lag bolts to enhance strength. Always double-check that everything is level before proceeding to the next step. 4. **Create the Junction Box:** Cut an appropriate-sized hole in the wall for the junction box that connects your TV to the power source. Ensure that the box is within easy reach of your mounted TV and that it’s GFCI protected to prevent electrical hazards. 5. **Wiring:** Route the ROMX cable to connect the junction box to your outlet while maintaining the correct gauge for your specific circuit needs. Make sure all connections are secure to avoid future failures.
Employing Safety Measures: Risks and Precautions
Safety cannot be overstated in DIY projects. Prior to handling electrical components, ensure the power is turned off at the circuit breaker. Use insulated tools to reduce the risk of electric shock, and consider employing a friend during heavy lifting or wiring tasks to promote safety and efficiency.
What Happens Next? Cleaning Up and Finishing Touches
After completing the installation, clean the work area. Ensuring that all tools are returned and that excess debris is cleared creates a safe environment. Finally, attach the TV to the wall mount and run a quick test to confirm that everything is functioning as expected.
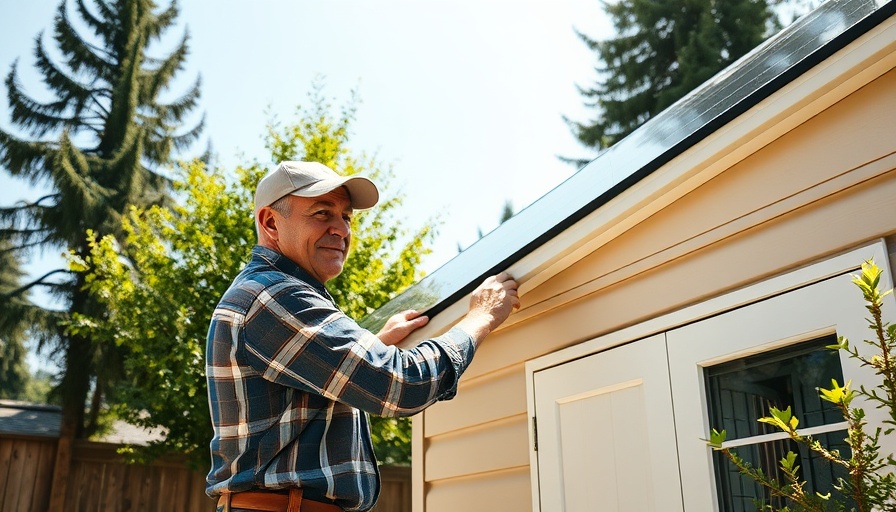
Enhancing Your Home: Beyond the TV Mounting
Once you've successfully wall-mounted your TV, consider tackling other DIY projects to elevate your home further. From installing shelves to painting an accent wall, each project adds a personal touch. Remember that being proactive about these improvements can enhance both the comfort and value of your home.
In How to Wall Mount a TV with No Visible Power Cords (Step-by-Step DIY), the discussion dives into ways to power your TV without visible cords, exploring key insights that sparked deeper analysis on our end.

Write A Comment