 Add Row
  Add
Add 

Why Building a Shower Curb is Essential for Homeowners
For many homeowners, a shower curb is more than just a construction element—it’s crucial for maintaining a dry and safe bathroom environment. An improperly installed shower curb can lead to persistent water pooling on bathroom floors, creating slips and falls that can be hazardous, especially for older adults. Thus, understanding how to build a shower curb is an invaluable skill that promotes both functionality and safety in the home.
Gathering Your Tools for Success
Before diving into this DIY project, ensure you have all necessary tools and materials at hand. This includes:
- Non-corrosive screws
- Waterproof pan liner
- Gloves
- Liner glue
- Cement mortar
- Lath
- Portland cement
- Flat trowel
- A sturdy knife
With these essentials, you can confidently tackle the task of constructing a durable shower curb.
Understanding Material Choices
The type of flooring in your bathroom is a key factor in determining the materials you will use for your shower curb. If your bathroom has wooden floors, for example, wooden bricks will suffice. Conversely, if your bathroom is outfitted with laminate flooring, utilize laminate bricks as they are suitable for your environment. When working on a concrete floor, remember that using lumber is inadvisable since it can absorb water. Instead, opt for waterproof materials to ensure longevity.
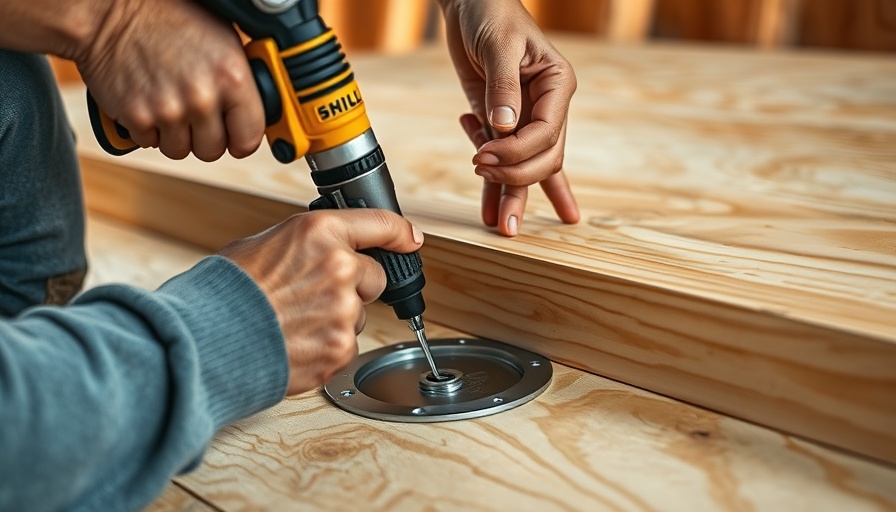
Step-by-Step Guide: Building Your Shower Curb
Constructing a shower curb might seem daunting at first, but it’s quite straightforward if you follow the right steps. Here's a simple guide:
- Prepare the Shower Curb: Start by gathering your bricks based on your flooring type. Then, cut the bricks into equal lengths, stacking them appropriately to maintain the right height for your shower door to function correctly.
- Install a Waterproof Pan Liner: This step is critical for preventing damage to your floor. Spread out the waterproof pan liner so it covers the entire shower area, not just the curb. A well-applied liner will ensure no water escapes to the bathroom floor.
- Secure the Curb Structure: After arranging the bricks and lining, secure everything in place with metal lath. Applying two or three layers will ensure you achieve the right stiffness required for support.
- Finish with Cement Mortar: Completing your curb with cement mortar not only enhances its solidity but also improves its waterproofing capabilities. Make sure to apply the mortar evenly and take your time for the best results.
Common Misconceptions About DIY Shower Curbs
Many novice DIY-ers believe that constructing a shower curb is overwhelmingly complex. However, by breaking the task down into basic steps and gathering the needed supplies, anyone can tackle this project. Embracing the challenge can empower individuals and foster a sense of accomplishment, leading to even more ambitious DIY home improvements down the line.
Future Trends: Smart Shower Technology
The evolution of smart home technology is making its way into bathroom renovations as well. Homeowners can now look at integrating smart sensors and monitoring systems alongside their shower adaptations for better water management, efficiency, and convenience. As you build your shower curb, consider how these advancements could be incorporated into your broader bathroom design plans.
Actionable Insights for Homeowners
Taking the first steps into DIY projects can be daunting, but creating your shower curb is not only a practical task but also an opportunity to enhance your home's value and personal satisfaction. By understanding the significance of this element in bathroom design, you gain insight into home maintenance that can lead to greater empowerment and independence.
Are you ready to get started on your DIY project? Remember that taking action will not only improve your home but also provide you with the confidence to embark on future renovation projects. Happy building!


Write A Comment