


Transform Your Home with New Baseboards
Are you ready to breathe new life into your home? Installing baseboards is an accessible way to elevate the look of any room, even for those just starting on their DIY journey. With some handy tools and a few tips from experienced pros, the transformation can be both cost-effective and rewarding. Let’s break down the steps leading to successful baseboard installation.
Why Baseboards Matter
Baseboards aren’t just decorative; they have essential functional qualities. They protect your walls from damage and prevent dust from collecting in areas where the wall meets the floor. Meeting the eye with an aesthetic finish, baseboards can enhance your home’s overall appeal. Homeowners aren’t just adding style; they’re making a significant investment into the longevity and maintenance of their property.
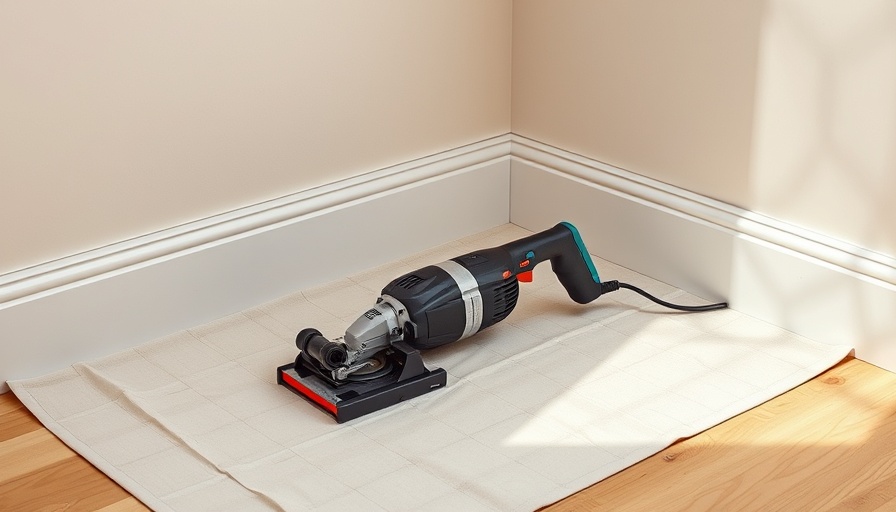
Tools and Materials for the Job
To set yourself up for success, gathering the right tools is crucial. The essential kit includes an 18-gauge brad nailer, miter saw, and caulk gun, ensuring precision in cuts and finishes. Besides tools, having the right materials like clean rags, fine-grit sandpaper, and a quality primer shades your work in an enduring fashion. Investing around $100-$200 in tools and materials will save you money in the long term when you don’t have to hire a contractor.
Step-by-Step: The Installation Process
Here’s a quick breakdown of the most critical steps in installing your baseboards:
- Measure and Calculate: Measure the total linear feet of walls for your baseboards and purchase 10% extra material to avoid any last-minute trips to the store.
- Priming and Painting: It’s often easier to paint baseboards beforehand. A quality primer will enhance both the look and durability of your paint job.
- Cutting with Precision: Make a detailed cutting list organizing your cuts which will smooth out the process. Using angle cuts (45 degrees) will not only make your installation easier but will disguise seams better, providing a polished look.
Common Missteps and How to Avoid Them
Understanding what not to do is just as important as knowing the correct process. One common mistake is underestimating the length of materials needed. Always measure twice and cut once to minimize waste. Additionally, take your time chalking out your cut list and making precise angles; this reduces the likelihood of unsightly gaps after installation.
Enhancing Your DIY Experience
Starting a DIY baseboard project can be intimidating but remember that each step enhances your skills. Bringing your unique vision into play also offers a rewarding aspect, transforming not just your space but your approach to home improvement. According to DIY enthusiasts, the pride of completing each phase provides a motivational boost for future projects.
Measuring the Results of Your Work
After working through your project, taking time to step back and admire your work fosters a sense of accomplishment. Not only that, playing the role of a DIYer can be socially satisfying, too. You can boast about your handiwork during gatherings, igniting enthusiastic conversations surrounding home design.
Call to Action
Your home deserves the personal touch that comes from your own hands. So, roll up those sleeves and tackle those baseboards—your level of comfort and style is only a project away! If you’re eager to continue with more home improvement tips or need specific advice, don’t hesitate to reach out to local DIY communities or forums.


Write A Comment