 Add Row
  Add
Add 


Transforming Your Waxed Furniture: The Essential Guide
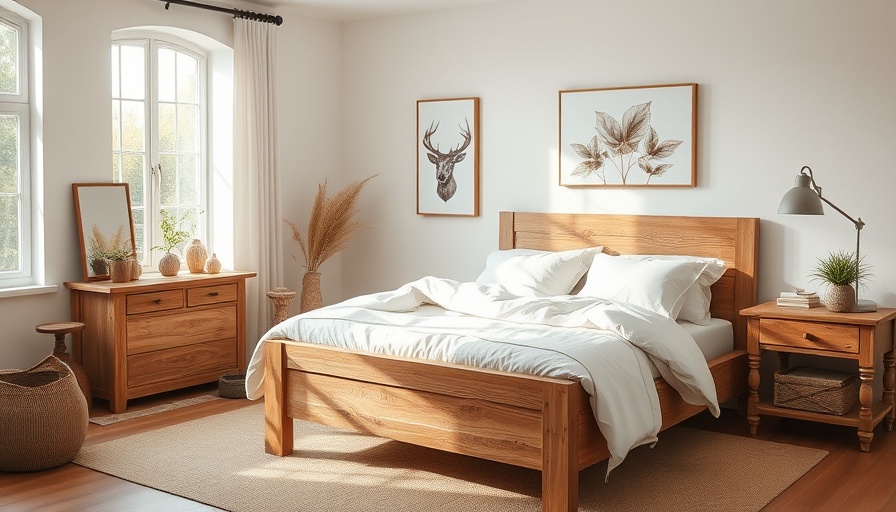
For anyone passionate about home improvement, tackling the project of painting waxed furniture can be both a challenge and a fantastic opportunity. With proper preparation, it’s possible to create beautiful, lasting finishes that revive your cherished pieces. Whether you’re updating an antique dresser or refreshing a worn-out chair, understanding a few key techniques can make a significant difference in the outcome of your project.
Why Preparation Matters
Before even picking up a brush, thorough preparation is crucial. Waxed surfaces can be tricky for paint adhesion, as the wax creates a barrier that can lead to peeling or flaking. To avoid these pitfalls, cleaning the piece diligently with a cleaner designed specifically for pre-paint preparation is essential. Products like Krud Kutter Prep-Paint Cleaner work wonders in stripping away dirt, grime, and residual wax, setting the stage for an optimal painting experience.
Stripping and Cleaning: Getting to the Core
After cleaning, if the furniture holds a thick layer of wax, you’ll want to strip it away. Using odorless mineral spirits, apply a small amount, allow it to penetrate, and scrub vigorously with a rag to remove the old wax. This initial step not only prepares the surface but also enhances the ability of the new paint to adhere effectively. Remember, filling in any gouges or deep scratches with putty during this stage will give a smooth, even surface for painting.
The Importance of Sanding and Priming
Sanding is another foundational step that cannot be overlooked. Using medium-grit sandpaper, rough up the surface to create texture before progressing to finer grits, ultimately achieving a smooth finish. In this phase, employing a sanding block helps with even pressure across the piece. Once you’ve finished sanding, vacuum away the dust thoroughly and apply a high-quality primer. This step is vital; a thin coat of primer prevents caking and ensures that your paint adheres well, facilitating an even application.
Choosing the Right Paint for Your Project
The type of paint you select can profoundly impact the longevity and aesthetic quality of your refinished furniture. Here are some great options to consider:
- Chalk Paint: This is a fantastic choice when painting waxed furniture due to its excellent adherence properties. No prior sanding or priming is necessary, and it offers a soft, matte finish. Available in a wide array of colors, chalk paint can be sealed with either wax or a sealant for added protection.
- Latex Paint: Known for its versatility, latex paint comes in various sheens and is quite durable. It is essential to choose a high-quality latex option, ensuring that it adheres well when paired with the right primer.
- Milk Paint: For those seeking a unique, vintage finish, milk paint is an excellent all-natural option. Although it does require mixing with water, the results can achieve a beautiful, rustic look ideal for enhancing antique pieces.
Application Techniques for a Professional Finish
Once you’ve selected your paint, the application becomes the next crucial task. To achieve a professional-looking finish, use a high-quality brush or roller to apply the paint evenly across the surface. Applying multiple thin coats is advisable, as this allows for better drying and adherence compared to one thick coat. Between coats, a light sanding can create an exceptionally smooth surface, ensuring that each application looks flawless.
Maintaining Your Newly Painted Furniture
After enjoying the satisfaction of a freshly painted piece, the journey doesn’t end. To keep your furniture looking great over time, implement regular maintenance practices. Gentle cleaning with a mild soap solution and the occasional re-waxing will help preserve that beautiful sheen and protect the underlying paint job.
Taking the time to follow these steps can ensure not only a successful furniture painting project but also a piece that enhances the aesthetic of your home for years to come. Remember, DIY projects should be enjoyable and fulfilling, and seeing your hard work pay off in a beautifully restored piece is the most rewarding aspect.
Ready to transform your home and make your furniture shine? Start your painting project today and embrace the rewarding journey of DIY home improvement!

Write A Comment